Bringing my 15 years old speakers back to life
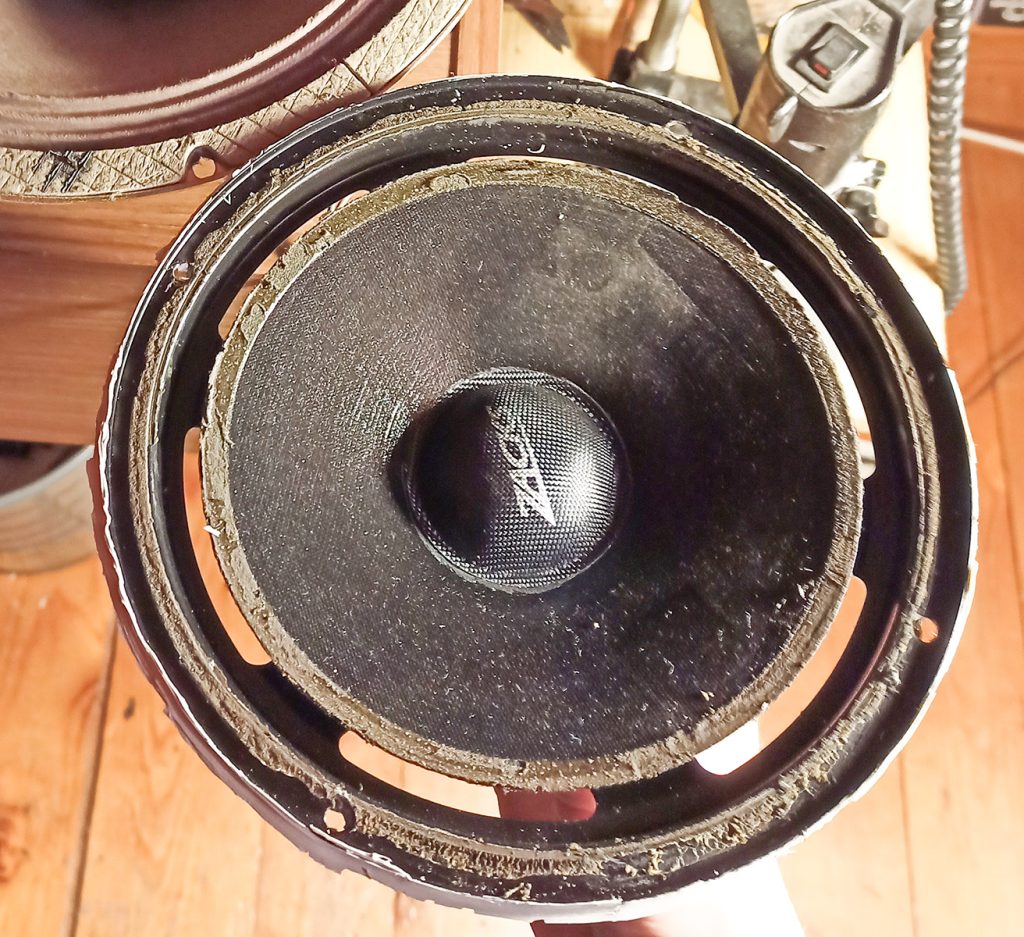
If you ever had any speaker system before, you should know that the suspension of the woofer cone at some point will give up entirely.
If it’s made of foam, it will degrade and fall apart, if it’s made of rubber, it will stiffen and prevent the cone from moving properly.
Sure, one would think that changing the woofer is the only solution, but if you are on a budget and you have enough patience, you can attempt to fix them yourself, which is what I did.
Acquiring the materials
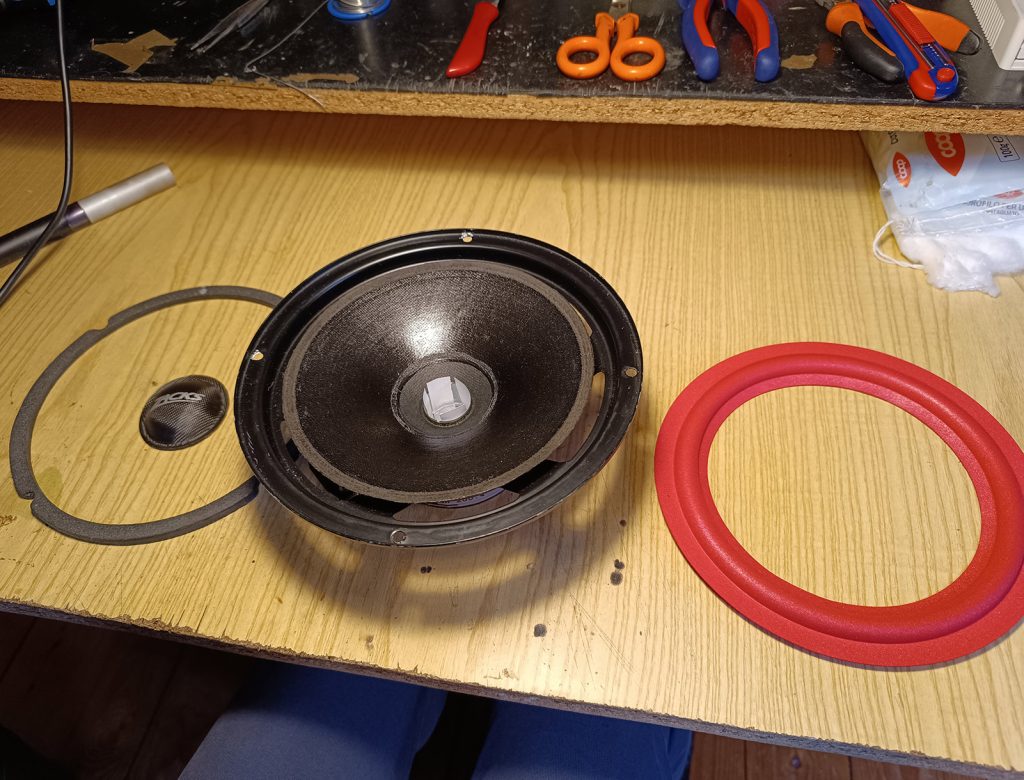
First of all, you need a replacement ring, there are plenty of them around on the internet of various sizes, just check that the diameter of the foam/rubber ring is compatible with your woofer.
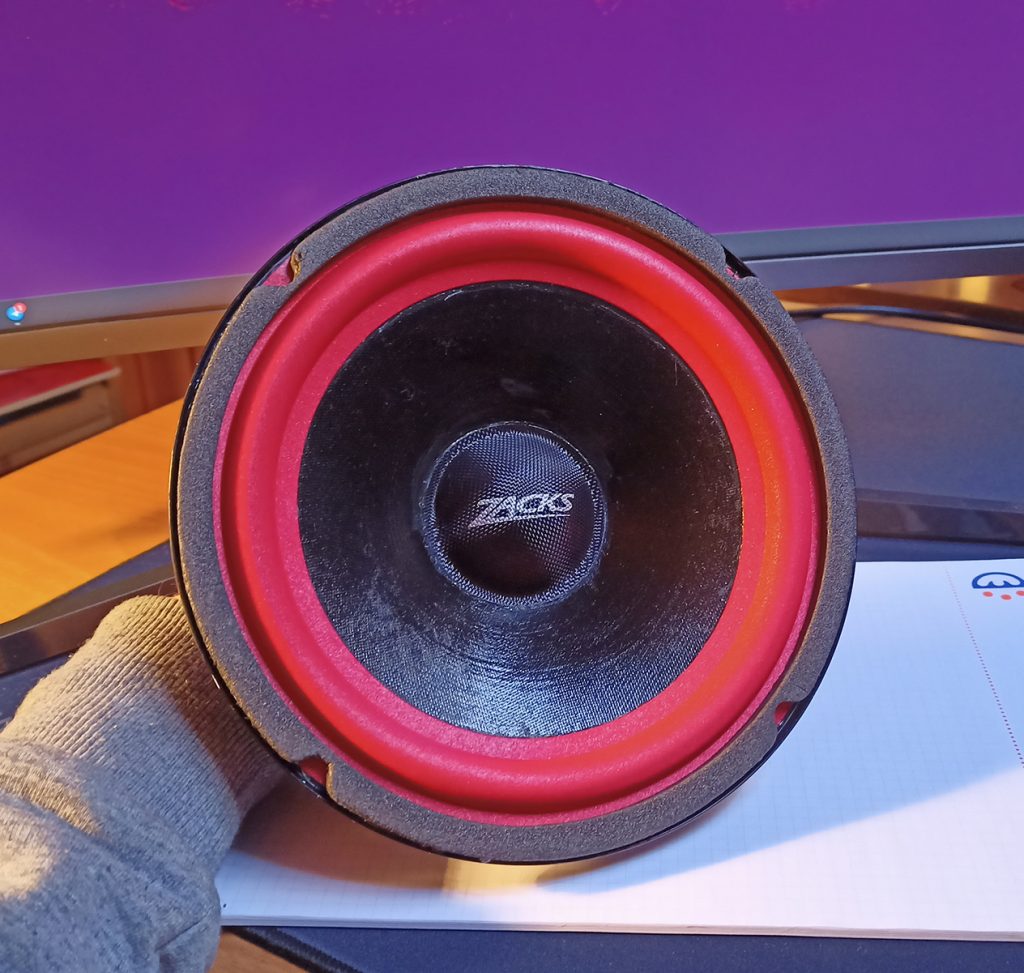
In my case the woofer I had was 8 inches in diameter and with foam suspension, so I bought some foam ring with the adequate diameter.
Cleaning the woofer and balancing the cone
The first and most important thing is removing all the degraded glue and foam from the metal frame and the cone. I used some 90% isopropyl alcohol and an old dull knife to scrape all the residues away.
Then with the use of an heat gun (set at minimum) I removed the voice coil cover in the middle.
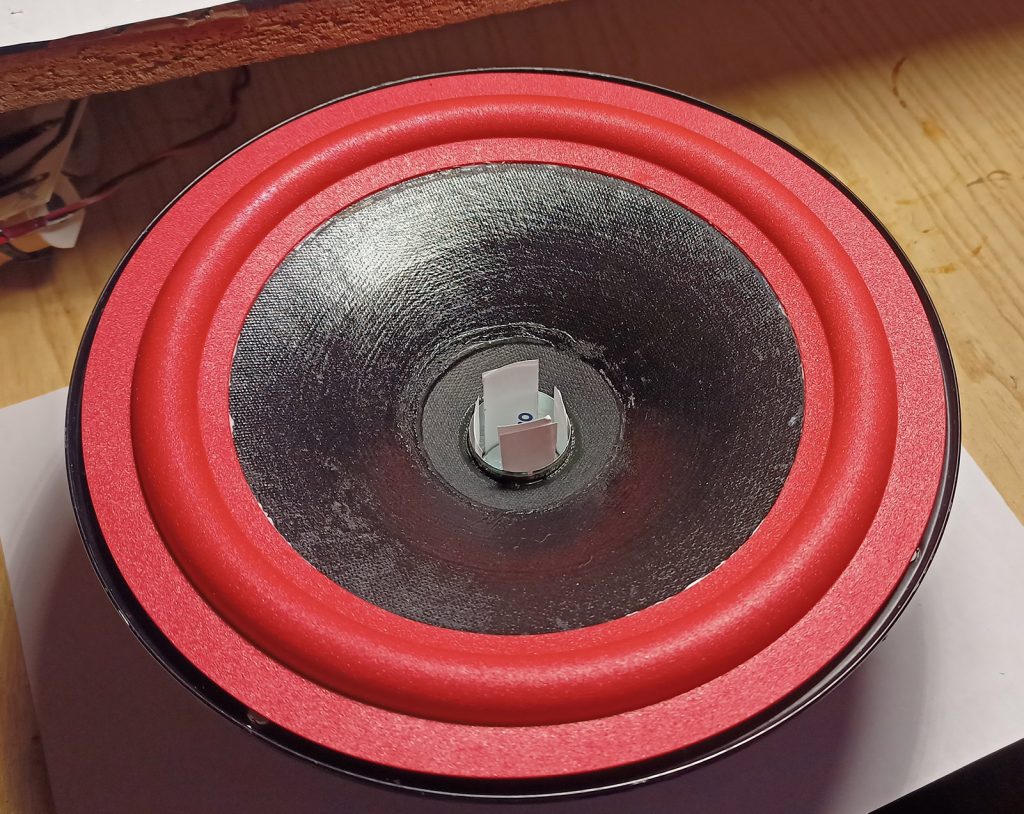
At this point it’s very important to balance the cone in the middle of the speaker, I used several layers of paper inserted in the space between the voice coil and the magnet to achieve an equal distant between them in every direction.
If you don’t do this and you just proceed with the gluing step, there’s the risk that the voice coil is not properly centered and it will scratch against the magnet while in operation, producing awful noises and eventually shorting itself out.
Gluing the foam and drying process
Select your glue wisely. Don’t pick some super strong epoxy resin or superglue that will make the next refoaming procedure (hopefully in another dozen of years) quite impossible.
I used some PVA glue (VINAVIL 59), just prefer the soft and elastic type rather than the brittle and rigid one. I am sure there are better alternatives for this job but that’s all I had at the moment.
After applying glue to the inner part of the ring, keep running your fingers on the top part of the foam and apply some pressure until the glue is dry. Then you can lift up the outer part of the foam, apply glue between the metal frame and the foam, and press it down again.
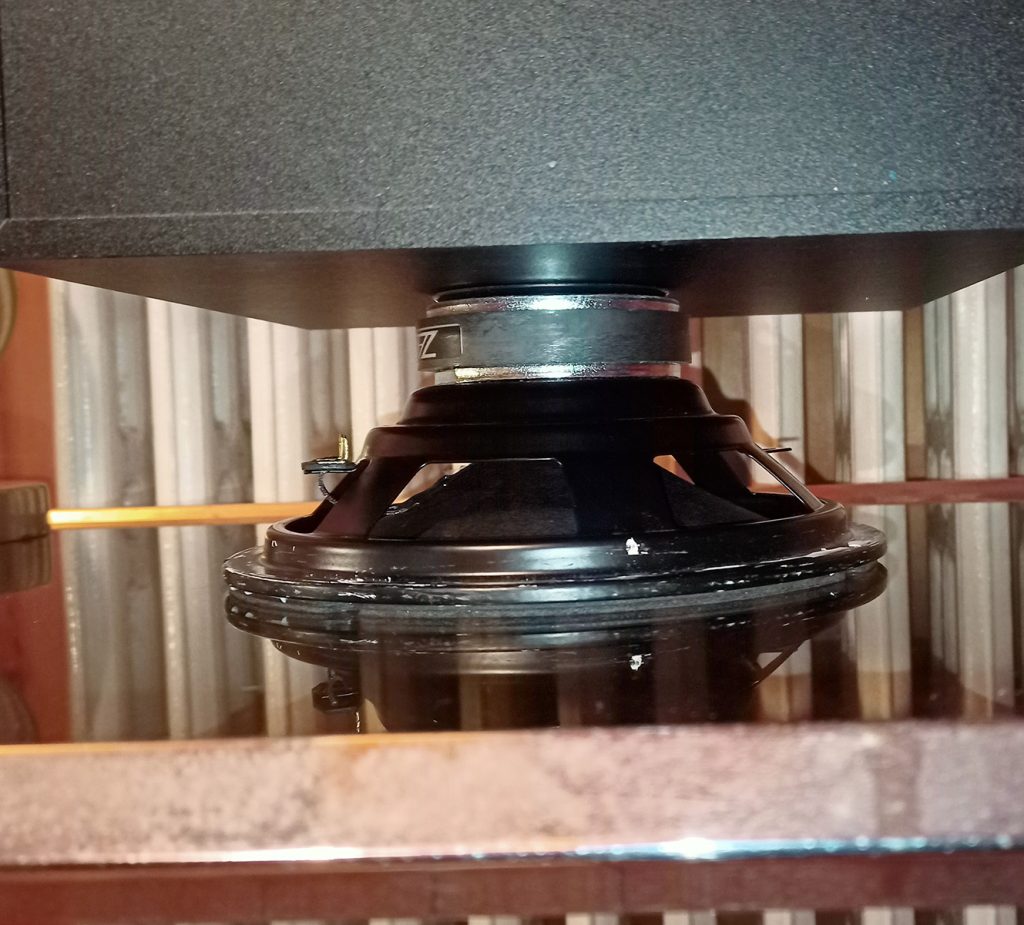
In my case I added more glue on top of the foam and positioned the rigid gasket you can see in the first picture on the left, then put the speaker upside down on a table with a weight on top until the glue was completely dry.
Final steps and conclusion
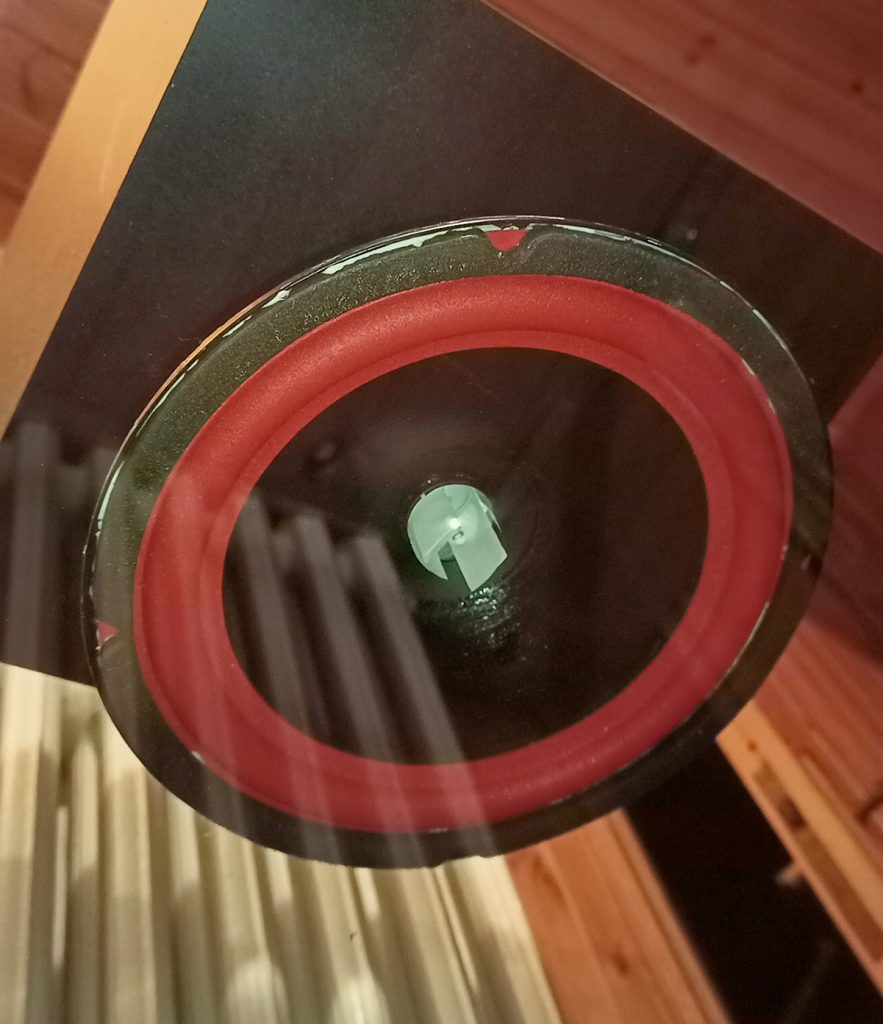
Don’t forget now to remove the paper from the voice coil and glue the cover back on!
The result was good, despite this being my first time. I tested the speaker and it works without making any weird noise or scratching on the magnet.
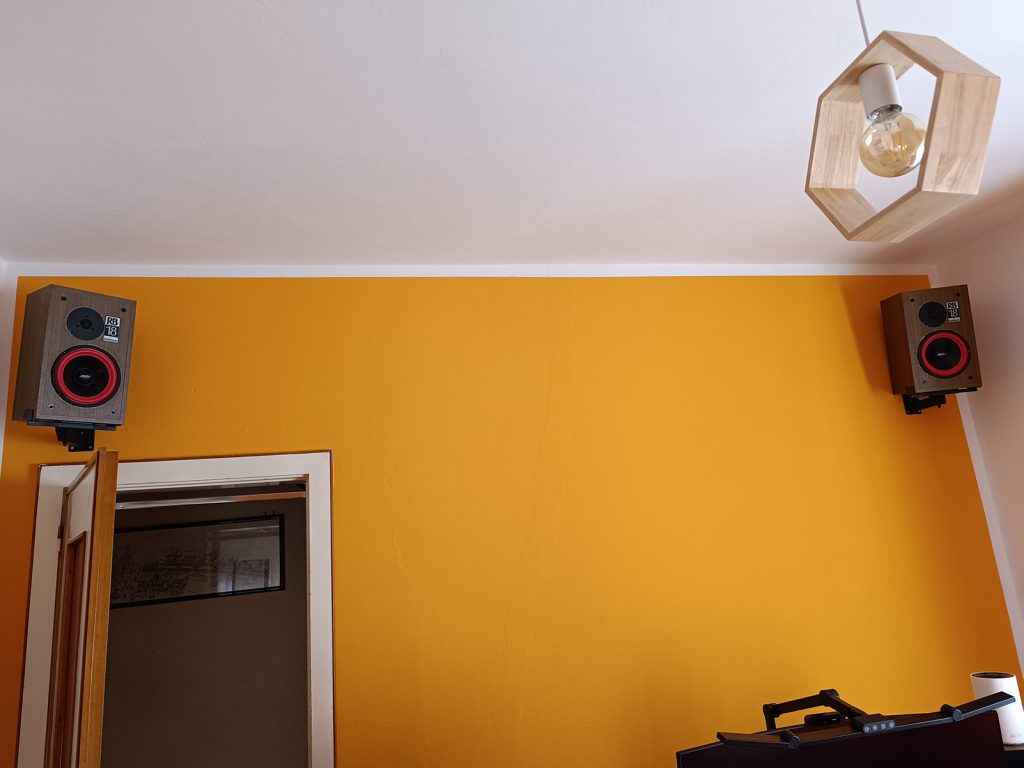
Now I just had to repeat the process on the second woofer and then install them in the loudspeakers!

Post Comment